Tiger Cloud: Performance, Scale, Enterprise
Self-hosted products
MST
Apache Airflow® is a platform created by the community to programmatically author, schedule, and monitor workflows.
A DAG (Directed Acyclic Graph)![]() is the core concept of Airflow, collecting Tasks
is the core concept of Airflow, collecting Tasks![]() together,
organized with dependencies and relationships to say how they should run. You declare a DAG in a Python file
in the
together,
organized with dependencies and relationships to say how they should run. You declare a DAG in a Python file
in the $AIRFLOW_HOME/dags folder of your Airflow instance.
This page shows you how to use a Python connector in a DAG to integrate Apache Airflow with a Tiger Cloud service.
To follow the steps on this page:
Create a target Tiger Cloud service with the Real-time analytics capability.
You need your connection details. This procedure also works for self-hosted TimescaleDB.
Install Python3 and pip3

Install Apache Airflow
Ensure that your Airflow instance has network access to Tiger Cloud.
This example DAG uses the company table you create in Optimize time-series data in hypertables
To install the Python libraries required to connect to Tiger Cloud:
Enable Postgres connections between Airflow and Tiger Cloud
pip install psycopg2-binaryEnable Postgres connection types in the Airflow UI
pip install apache-airflow-providers-postgres
In your Airflow instance, securely connect to your Tiger Cloud service:
Run Airflow
On your development machine, run the following command:
airflow standaloneThe username and password for Airflow UI are displayed in the
standalone | Login with usernameline in the output.Add a connection from Airflow to your Tiger Cloud service
- In your browser, navigate to
localhost:8080, then selectAdmin>Connections. - Click
+(Add a new record), then use your connection info to fill in the form. TheConnection TypeisPostgres.
- In your browser, navigate to
To exchange data between Airflow and your Tiger Cloud service:
Create and execute a DAG
To insert data in your Tiger Cloud service from Airflow:
In
$AIRFLOW_HOME/dags/timescale_dag.py, add the following code:from airflow import DAGfrom airflow.operators.python_operator import PythonOperatorfrom airflow.hooks.postgres_hook import PostgresHookfrom datetime import datetimedef insert_data_to_timescale():hook = PostgresHook(postgres_conn_id='the ID of the connenction you created')conn = hook.get_conn()cursor = conn.cursor()"""This could be any query. This example inserts data into the tableyou create in:https://www.tigerdata.com/docs/getting-started/latest/try-key-features-timescale-products/#optimize-time-series-data-in-hypertables-with-hypercore"""cursor.execute("INSERT INTO crypto_assets (symbol, name) VALUES (%s, %s)",('NEW/Asset','New Asset Name'))conn.commit()cursor.close()conn.close()default_args = {'owner': 'airflow','start_date': datetime(2023, 1, 1),'retries': 1,}dag = DAG('timescale_dag', default_args=default_args, schedule_interval='@daily')insert_task = PythonOperator(task_id='insert_data',python_callable=insert_data_to_timescale,dag=dag,)This DAG uses the
companytable created in Create regular Postgres tables for relational data.In your browser, refresh the Airflow UI.
In
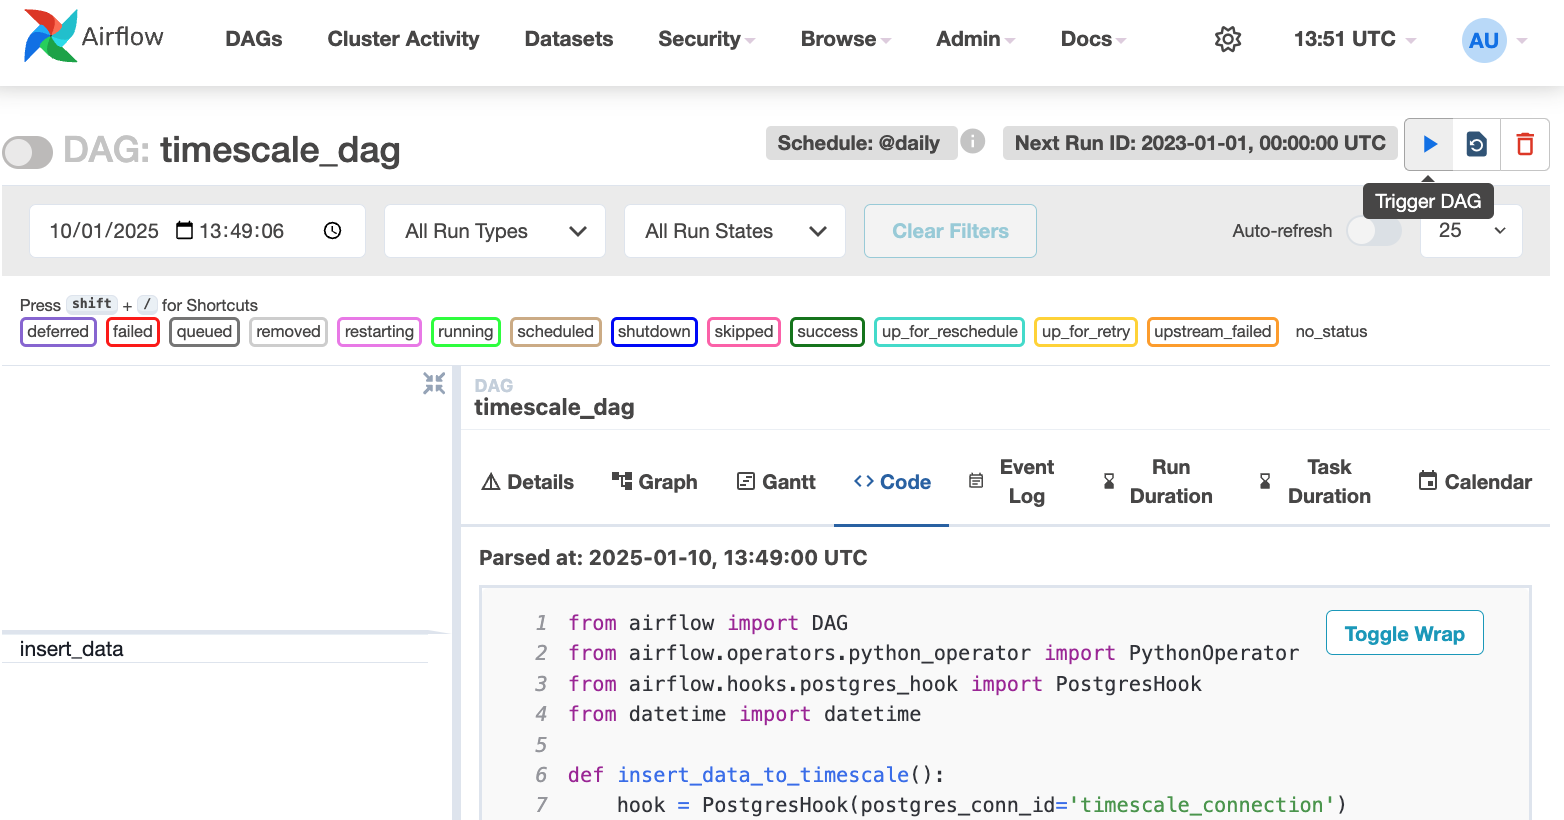
Search DAGS, typetimescale_dagand press ENTER.Press the play icon and trigger the DAG:
Verify that the data appears in Tiger Cloud
In Tiger Console
, navigate to your service and click SQL Editorat the bottom.Run a query to view your data. For example:
SELECT symbol, name FROM company;.You see the new rows inserted in the table.
You have successfully integrated Apache Airflow with Tiger Cloud and created a data pipeline.
Keywords
Found an issue on this page?Report an issue![]() or Edit this page
or Edit this page![]() in GitHub.
in GitHub.